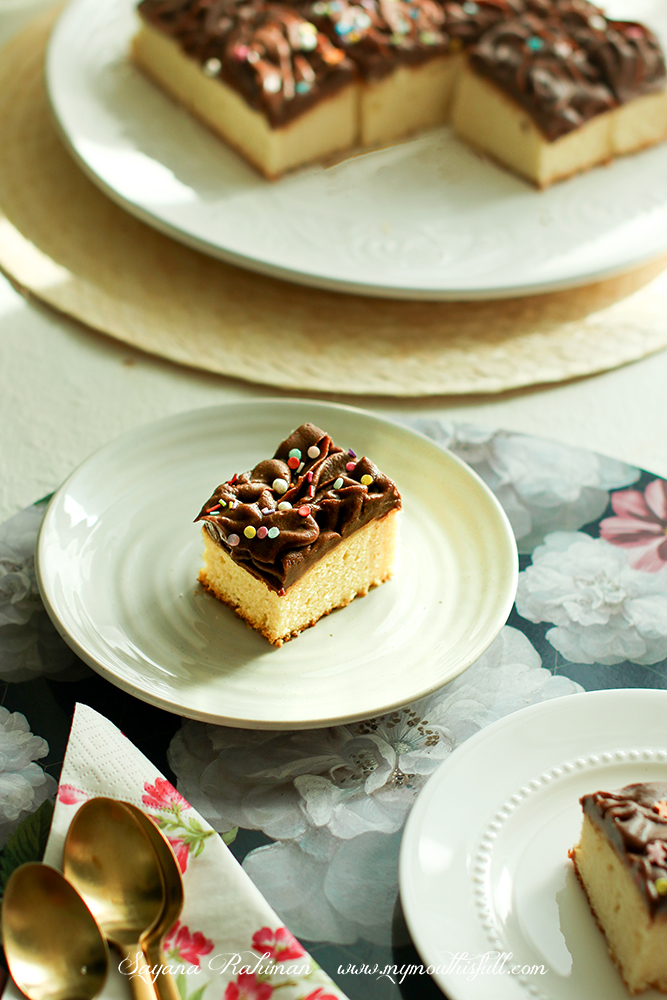
Ali loves chocolate. Even dark chocolate. It’s what he asks for when it comes to ordering ice cream or cupcakes. Then almost overnight he started picking Vanilla. Vanilla everything. One day when he wanted me to bake cake, I agreed knowing I had some Vanilla Swiss Meringue frosting in the freezer. But then he asked, “Can you make the cake Vanilla and frosting Chocolate?” There was a no-whip frosting recipe I had bookmarked weeks ago and saw this as the opportunity to finally try it. “And I need sprinkles.” I didn’t want to make a completely frosted round cake. I baked a tinier sheet cake and in a couple of hours, it was frosted and we sat down to eat the cake together. “THIS IS THE BEST CAKE EVERRRR!!” Music to my ears. He pleaded to let him finish the entire cake because “It’s soooo good!” I was just happy that I now had a recipe to a simple yet buttery and light cake with a frosting that doesn’t need to be whipped.
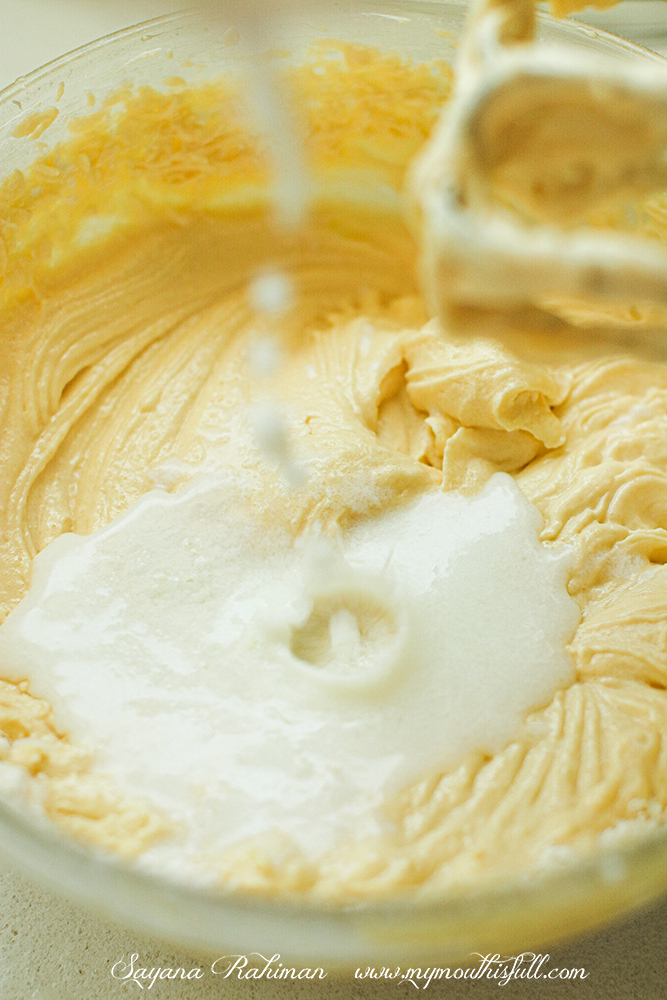
The recipe starts with creaming butter and sugar. How long you cream it is the deciding factor of the texture of the cake. Recipes that require creaming don’t always mention how long it should be mixed and just say cream until light and fluffy. I have made this error in the past where I would mix till the butter looks disintegrated into the sugar. However you could still feel the sugar crystals. After a little research I read how you have to cream them together for quite some time. My personal sweet spot is about 8 minutes. At this stage, the resulting cream looks very pale and if you touch it, you can barely see or feel the sugar.

Here is what the batter looks like after the addition of eggs. This recipe calls for two eggs that are added one at a time. The addition of eggs is what gives the cake its lovely golden hue and helps with the fluffy texture. You want to whip the egg into the batter for about a minute each time which gives the batter volume. Take your time to mix or whip unto this stage this will result in a super soft cake.
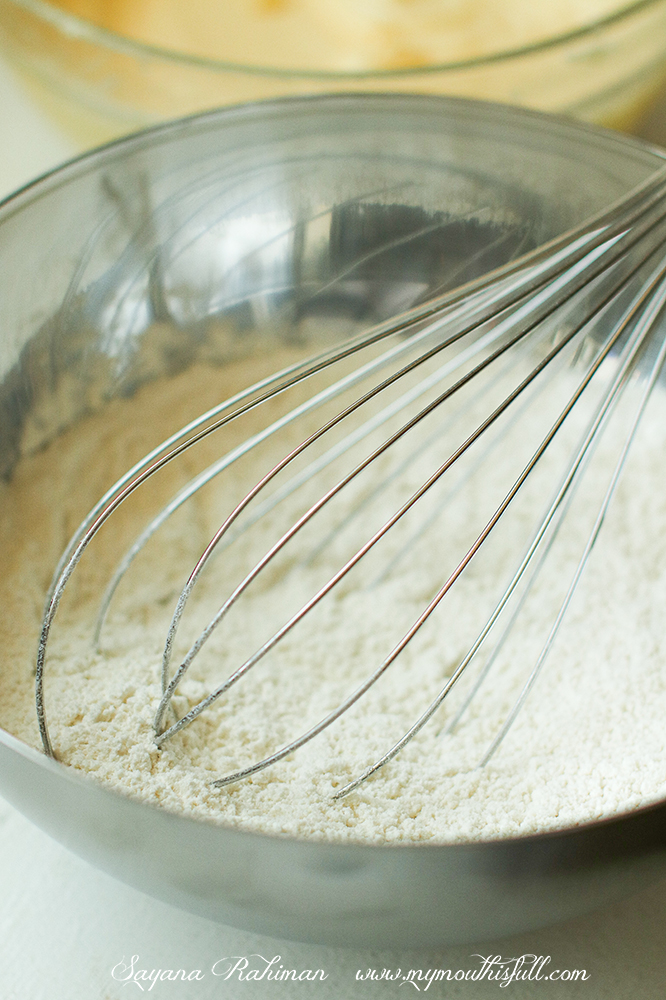
The dry ingredients in the recipe are your basic ones. All purpose flour, baking powder and salt are whisked separately and will be added to the creamed butter and sugar in three additions. It is very important that you do not over mix the dry ingredients. You want to choose a low setting on your mixer and combine it just enough that the flour streaks disappear into the batter. That alone can drastically change the texture of your cake. Over whipping the flour toughens the gluten structure and the resulting cake will be dry, tough and chewy. It is alternated with buttermilk to ensure the flour isn’t over mixed and also prevents you from over mixing. You add the flour mixture in three batches alternated with buttermilk. You have to start and end with the flour mixture.
So what gives this cake its fluffy almost bouncy texture? As the title says, its the Buttermilk. Well, actually the chemical reaction that occurs when it reacts with baking powder. When I started baking about ten years ago, this was one considered a secret to a great red velvet cake recipe. Buttermilk is acidic in nature and it reacts with baking powder which is alkaline. The reaction between the combination of a basic and acidic ingredient produces water, salt and carbon dioxide in the form of bubbles which helps the cake rise while giving it a light airiness. You will see how the crumb may look tight but it has a very light texture. Buttermilk is available under the name Laban in the UAE. I have seen some recipes suggesting using full fat yoghurt as a substitute. I prefer making my own buttermilk. You can do this in two simple ways. Combining full fat milk with either vinegar or lemon juice. I used to do it with vinegar initially but found that sometime it leaves an unpleasant aftertaste in the recipe. That issue stopped when I started using lemon. You can smell the difference too as the resulting buttermilk has a fresh note. You just have to stir some lemon juice into the milk and allow it to sit for about ten minutes. The milk will curdle slightly and after it is stirred gently, it is ready to use.

How lush does this cake batter look? Ali and I sneak a little batter in the name of quality control. He always beats me to the spatula.
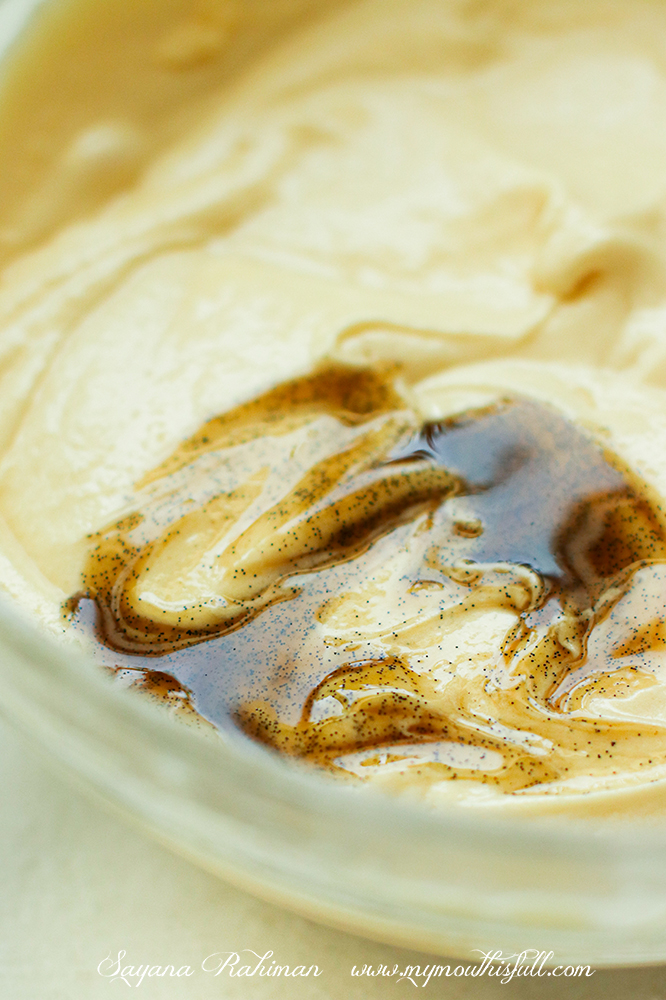
Here is the deciding factor of a rich and flavorful cake – the quality of your Vanilla paste. I know most of us reach out for the vanilla extracts in desserts but this is one of those recipes where you want to indulge in a good quality Vanilla paste made with real Vanilla. You will actually taste the difference. When mixing the paste into the batter, again you need to use a light hand so as to not over mix the flour in the batter. Yes, I have been rambling about over mixing but it is only so you get a super light and fluffy cake like below.
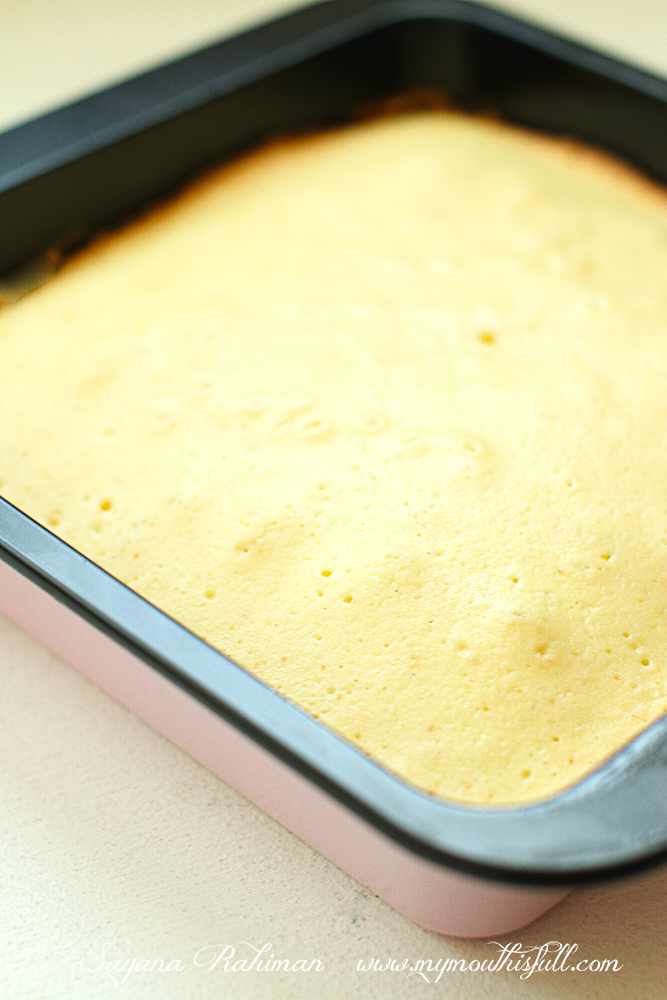
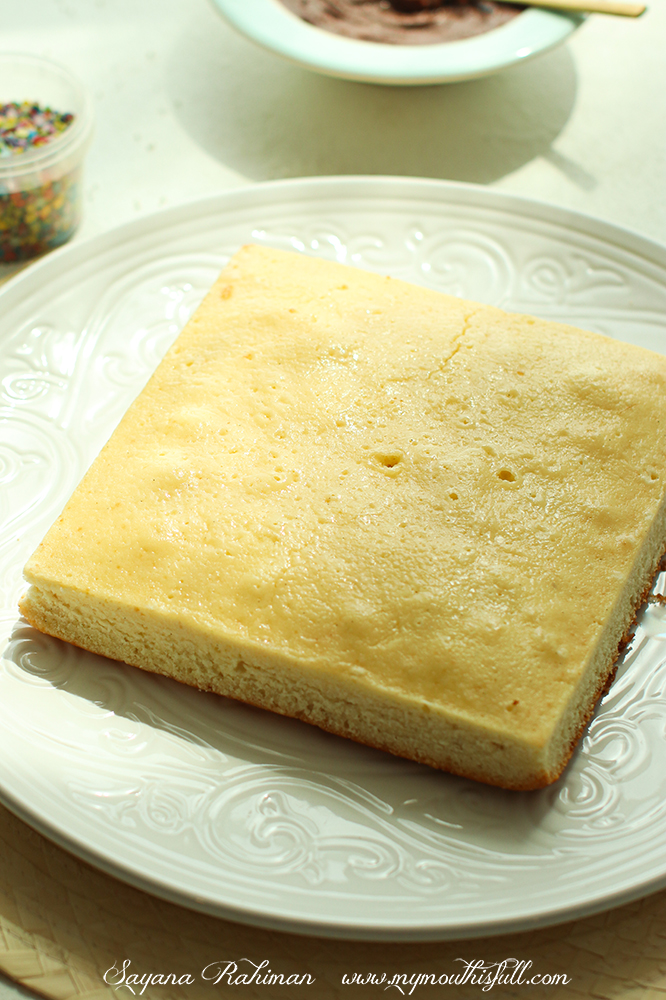
I use my brownie tin to bake this recipe. I grease it slightly but skip using a parchment paper. Once it cools for a while in the tin, the cake shrinks ever so slightly in the pan and releases easily.
Let’s talk about the double chocolate fudge frosting that requires no whipping whatsoever. This is a recipe shared by Thida Bevington and has now become Ali’s favorite frosting. By favourite, I mean that he will loudly declare with closed eyes how delicious it tastes with every bite and punctuates his sentences with oohs and aahs. It is probably the main reason why I love baking this cake so much because I love to see how he much he enjoys eating it. The next three days after I have made it, he will come at the most opportune (and inopportune times asking for cake). Even breakfast. And he almost always has a mini meltdown when he learns its over.
This frosting is very easy to make. It just needs a little time to cool and set. The first time I made it I thought it would set in about an hour. It looked a bit runny. I messaged Thida and she advised to leave it out on the countertop for a couple of hours to rest and it will slowly thicken. The temperature of your kitchen or countertop will decide how long it will take. If you want to speed the setting process, you can always chill it in the refrigerator. You need to check the consistency after half an hour so that it doesn’t become too thick.
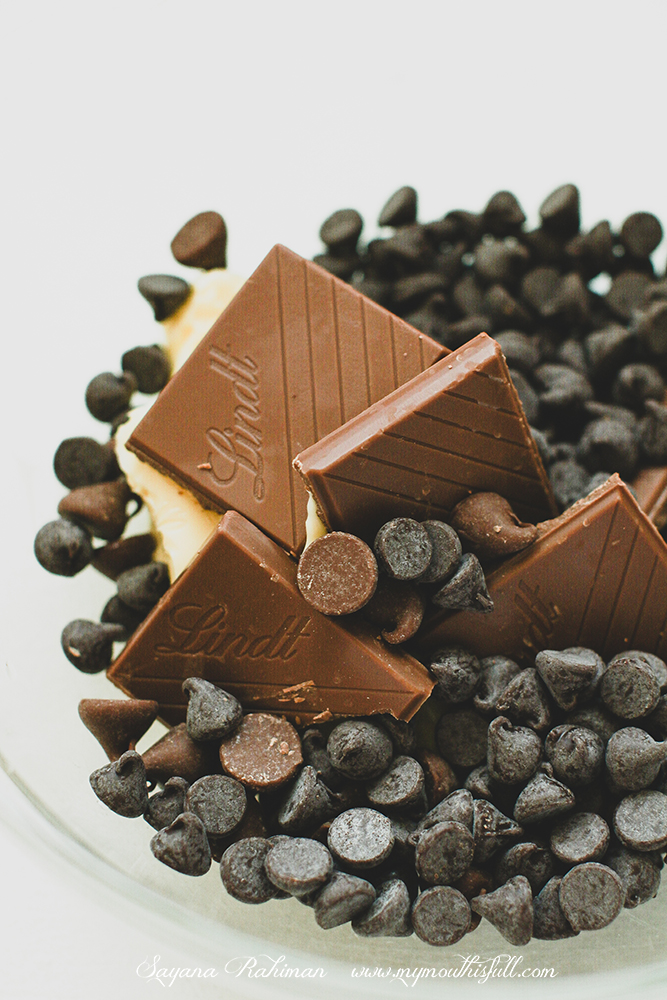
You start by melting dark and milk chocolate with butter. I use the double boiler method but you can always melt it in the microwave.
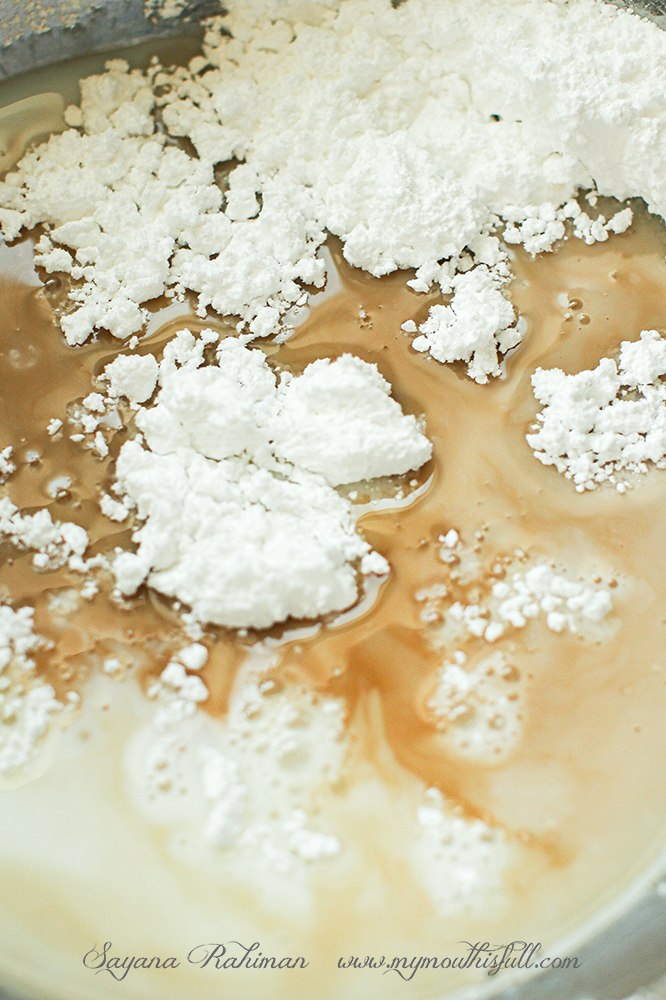
The second step is to combine icing sugar, milk and vanilla extract in a separate bowl and mix it till the sugar is incorporated. It will be very runny. You add the melted chocolate into this mixture and stir it really well by hand until everything is mixed. Then you allow it to set and work its magic.
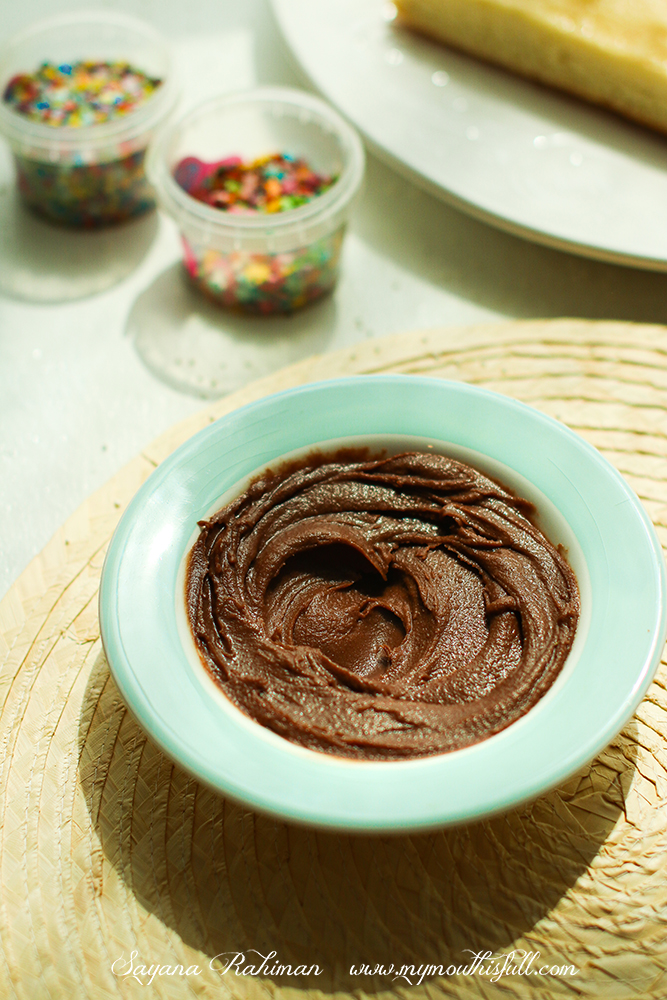
Here’s a look at the texture of the frosting. I made my frosting a day before and let it set in the refrigerator. I brought it to room temperature on the countertop before I frosted the cake.
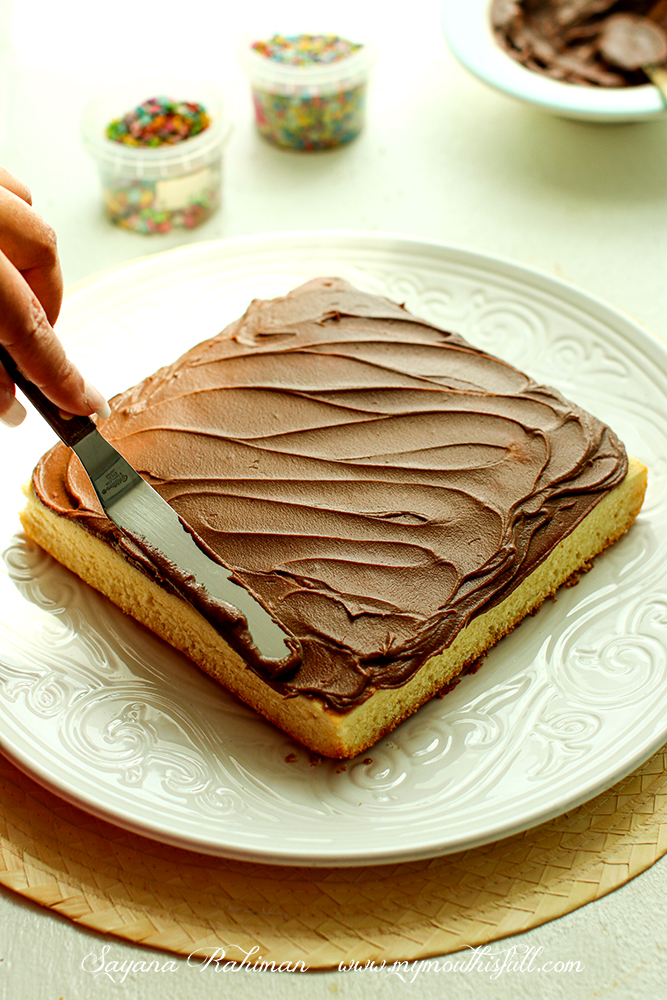
You can spread the frosting on the cake surface with a spatula or even use a spoon.
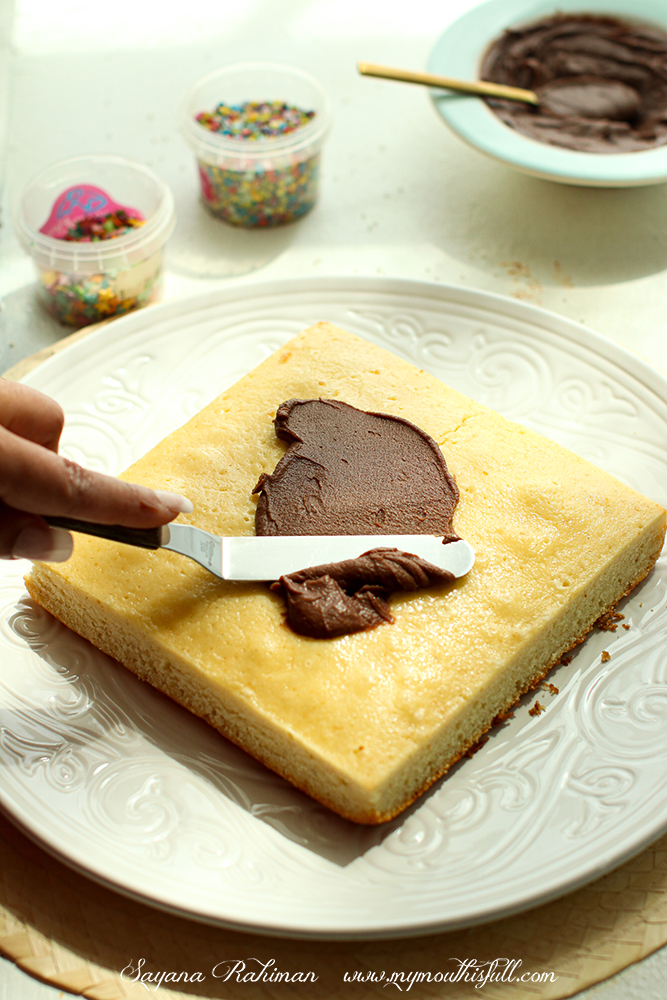
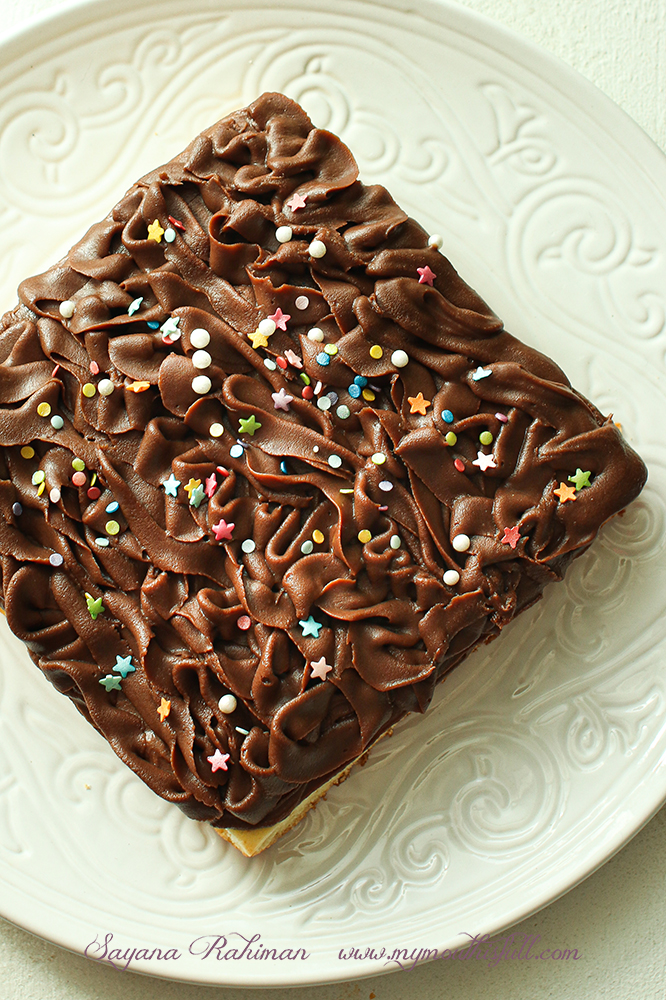
On Ali’s request, I added some sprinkles.
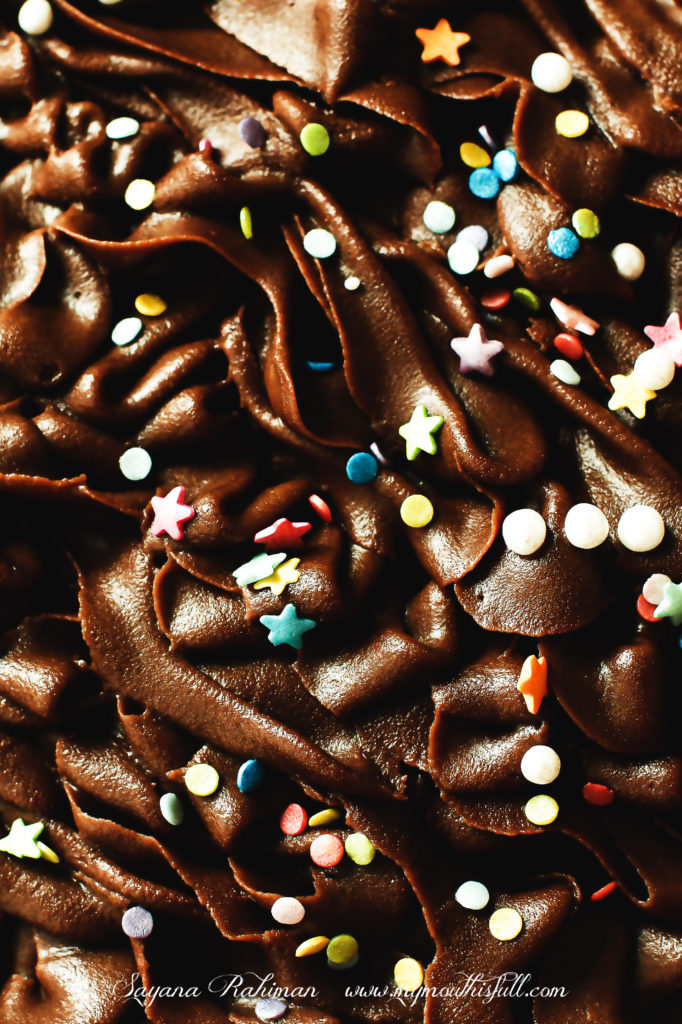
I like to pipe whimsically for this cake. I use Wilton’s 125 petal tip for this frosting. You can always use the back of your spoon for a rustic finish or if you frost frequently. you can do what you know best for a more polished look. You could even add some Ferreo Rocher or Oreos or some sliced strawberries instead to suit the occasion. If you’re serving it for more than two people, I’m certain you won’t have any leftovers. Especially if the party involves children.
Vanilla Buttermilk Cake with Double Chocolate Fudge Frosting
Ingredients
Cake
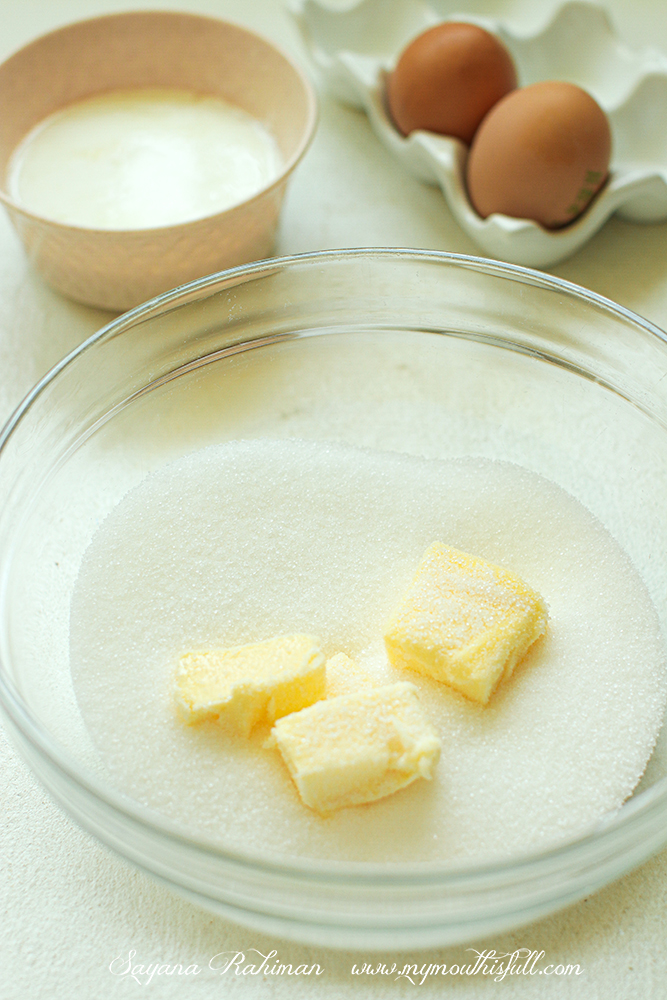
- 85 g Butter room temperature
- ¾ cup Sugar
- 2 Eggs
- 1½ cups All Purpose Flour
- ½ tsp Baking powder
- ½ tsp Salt
- ½ cup Milk
- 2 tsp Lemon juice
- 1 tsp Vanilla extract
Frosting – by Thida Bevington
- 90 grams Milk Chocolate
- 90 grams Dark chocolate
- 113 grams Butter
- 175 grams Icing sugar
- 90 grams Milk
- 1 tsp Vanilla extract
- Sprinkles optional
Instructions
METHOD
- Combine milk and lemon juice and stir well. Set aside for 15 minutes to make buttermilk.
- Preheat oven to 180 degrees Centigrade.
- Grease a square baking tin lightly with butter.
- In a mixing bowl, using a stand or hand held mixer, beat butter and sugar on low speed until light and fluffy, about 8 minutes.
- Scrape down the sides of the bowl while creaming.
- Add eggs one at a time, beating on low until incorporated. Continue to beat on low until batter is creamy.
- In a separate bowl, whisk together the flour, baking powder, and salt.
- Add 1/3 of the dry ingredients to the batter. On a low speed, mix the ingredients just until you see no flour streaks.
- Add 1/2 the buttermilk and mix on low again. Repeat flour and buttermilk addition alternately. You should end with the flour mixture.
- When all ingredients have been mixed, add the vanilla and mix on low until just incorporated.
- Pour batter into the prepared pan and evenly smooth the top with a spatula. Bake at 20-25 minutes or until a toothpick inserted into the cake comes out clean with no crumbs.
- Let cake cool completely after baking.
Frosting
- Place milk and dark chocolate and butter in a bowl. Melt these ingdredients using a microwave OR double boiler method. Stir the mixture well until incorporated.
- In a separate bowl whisk together icing sugar, milk and vanilla extract thoroughly.
- Pour the melted chocolate into the icing sugar mixture and stir it thoroughly.
- Cover with a plastic wrap and set it aside on the countertop for 2-3 hours. The frosting will turn fudgy and thick when it cools.
- If you want to speed the thickening process, after 1 hour, chill in the refrigerator for half an hour. Check the consistency. You should be able to run a spoon through it easily and it should be thick.
- If it has become too hard, place it outside on the counter and check the consistency after half an hour.
- Place the buttermilk cake on your serving platter.
- Using a spoon, put dollops of the frosting on the surface of the cake.
- Spread the frosting evenly using a spatula or the back of the spoon till the cake surface is covered completely.
- Continue spreading the frosting OR you can pipe and design the remaining frosting with any nozzle.
- Top with sprinkles if using.
- Cut the cake into squares or small rectangles.
- Serve and enjoy!
Notes
You can refrigerate leftovers for up to 4 days. If you like a softer frosting, let it come to room temperature on the counter for half an hour before serving.
Leftover frosting can be refrigerated for 5 days or frozen for a month.